
How to Build a Tarp Shelter: Fast, Lightweight Survival Shelter Setup
Discover how to build a tarp shelter for emergency and wilderness survival. Learn step-by-step methods to set up a reliable, waterproof tarp shelter using paracord, stakes, and basic gear. Ideal for backpackers, bushcrafters, and preppers.
How to Build a Tarp Shelter: Fast, Lightweight Survival Shelter Setup
Why Tarp Shelters Are a Survival Essential
Tarp shelters are one of the most useful and versatile forms of emergency shelter you can learn to make. Whether you’re caught in a surprise rainstorm, spending the night on the trail, or just prepping for emergencies, knowing how to set up a tarp shelter can keep you dry, warm, and protected. They’re lightweight, quick to deploy, and can be adapted to nearly any environment with just a few pieces of gear and basic know-how.
If you don’t have a tarp, a similar option is a poncho shelter, which uses a rain poncho and can be deployed just as fast in an emergency.
Choosing the Right Tarp for Shelter Building
Not all tarps are created equal when it comes to wilderness survival. The best tarp shelters use lightweight, waterproof materials with reinforced grommets and tie-down points. Look for ripstop nylon or silnylon tarps, which are both durable and pack down small. Aim for a size around 8 x 10 feet or larger if you want enough room to stretch out or store gear inside. Consider that if you're sheltering in snow, you might need to build something more insulated, like a quinzhee shelter, which traps body heat better than a tarp in cold conditions.
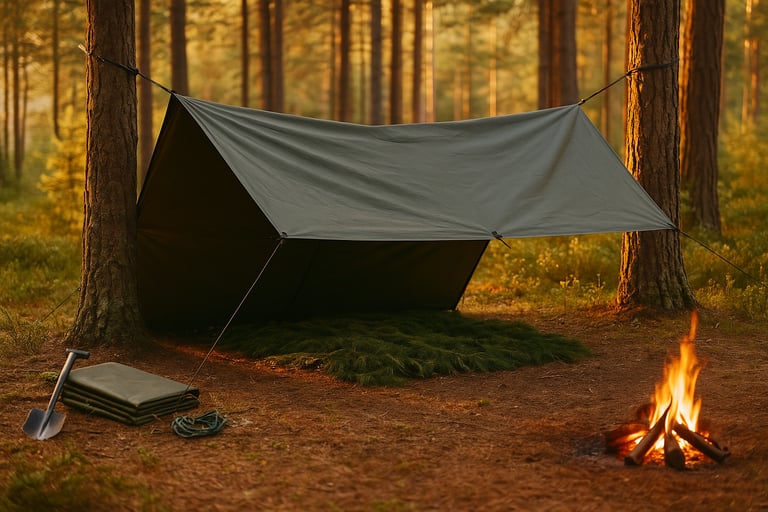
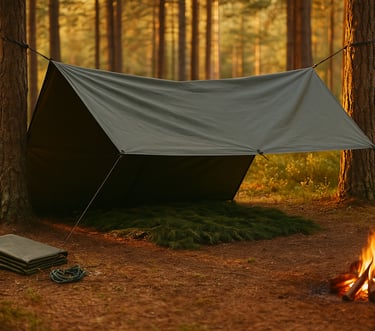
You’ll also want to carry paracord or strong cordage, a few tent stakes, and optionally a trekking pole or stick if no trees are available. This small kit weighs little but provides major protection.
Setting Up the Tarp Shelter: Step-by-Step
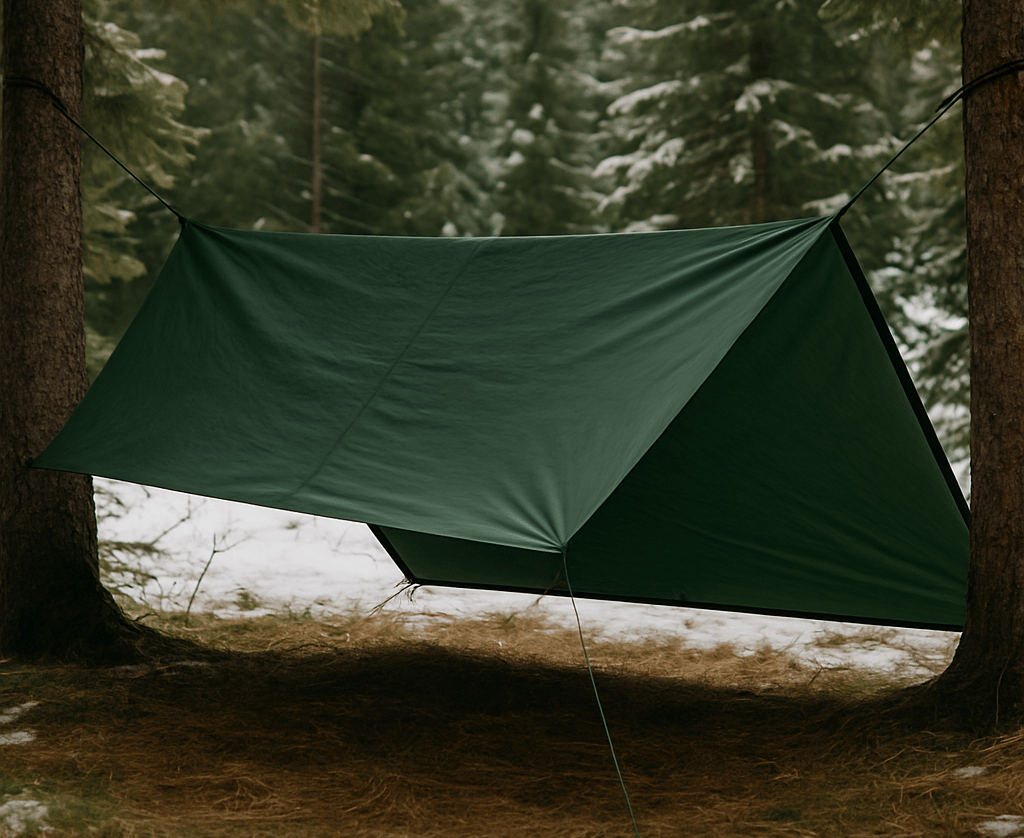
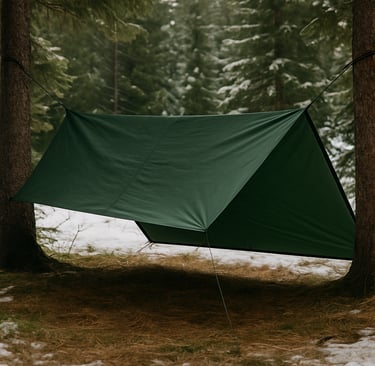
One of the most reliable tarp shelter setups is the A-frame, which works especially well between two trees. To start, tie a ridgeline between the trees at about waist height. Drape the tarp over the line so it forms a triangle on each side. Then stake down the corners or use rocks or logs to hold them in place. Adjust tension so the tarp doesn’t sag or flap in the wind.
If you don’t have trees, you can use a stick or trekking pole as a center post and anchor the tarp down in a wedge shape. No matter the method, always position the entrance away from the wind, and slope the tarp low enough to keep out rain. For longer stays or colder nights, consider pairing your tarp setup with a bough bed shelter to insulate you from the cold ground.
Adding Ground Cover and Insulation
Once your tarp is set up, line the ground underneath with natural insulation like pine boughs, dry leaves, or even an emergency blanket. This will help reduce heat loss to the cold ground and make sleeping more comfortable. If you expect rain or snow, dig shallow trenches around the outside of your shelter to redirect runoff and keep the inside dry.
Final Thoughts on Building a Tarp Shelter
Knowing how to build a tarp shelter is a skill every outdoorsperson should have in their survival toolkit. It’s simple, flexible, and extremely effective in a wide range of conditions. Practice a few different tarp shelter setups ahead of time, so if you ever need one in an emergency, you can build it quickly and confidently.


© 2025. All rights reserved About | Privacy Policy | Terms and Conditions | Affiliate Disclosure | Disclaimer