
Making Fire the Old-Fashioned Way: A Beginner’s Guide to the Fire Plough Method
Learn how to start a fire using the ancient fire plough method. This beginner-friendly guide walks you through step-by-step instructions and essential gear for mastering primitive fire-starting skills.
Making Fire the Old-Fashioned Way: A Beginner’s Guide to the Fire Plough Method
Mastering primitive fire-making techniques isn’t just for survivalists — it’s an empowering skill that connects us to the past. In this guide, we’ll explore how to start a fire using the fire plough method, a time-tested technique that uses nothing more than wood, friction, and patience. Whether you're learning for wilderness preparedness or just curious, this is a foundational survival skill every outdoor enthusiast should try at least once.
What Is the Fire Plough Method?
The fire plough is one of the oldest known fire-starting techniques, used by ancient cultures to ignite a flame using nothing but two pieces of wood and a bit of determination. Unlike modern fire starters, this method uses friction to generate heat and create an ember that can be transferred to tinder.
If you're looking for other primitive methods, you can also learn how to make fire with flint and steel or try solar fire starting using only the sun for low-gear, low-effort options.
Materials You’ll Need
Before you begin, gather the following:
A flat piece of dry wood (your fireboard)
A pointed stick (your fire plough tool)
A bundle of dry tinder (like grass, cotton, or bark fibers)
A flat, non-flammable surface to work on
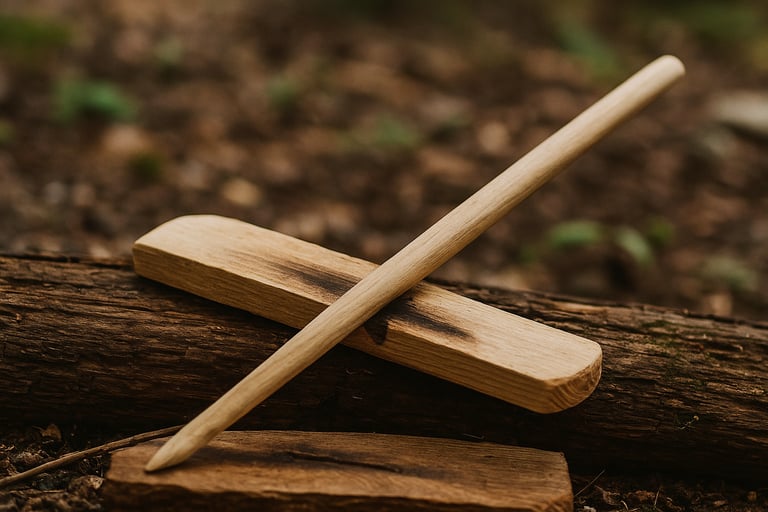
Selecting the Right Fireboard
Look for a dry, flat piece of softwood, such as cedar or pine. The drier the wood, the better. This will be the base of your fire plough — where friction will create heat and eventually, a glowing ember.
Shaping Your Fire Plough Stick
Take your stick and carve one end into a pointed tip. This tip is what you'll press and slide into the groove of the fireboard to generate friction. Make sure it’s smooth enough to grip but not too polished that it slips.
Preparing Your Tinder Bundle
Your tinder is what will catch the ember once it forms. Use light, dry materials such as grass, bark shavings, cotton balls, or even dryer lint. Fluff it up to create plenty of surface area for the ember to ignite.
Carving the Groove
With your fireboard laid flat, carve a shallow groove straight down the middle using your pointed stick. This trench is where the magic happens—it collects the hot dust and concentrates the friction.
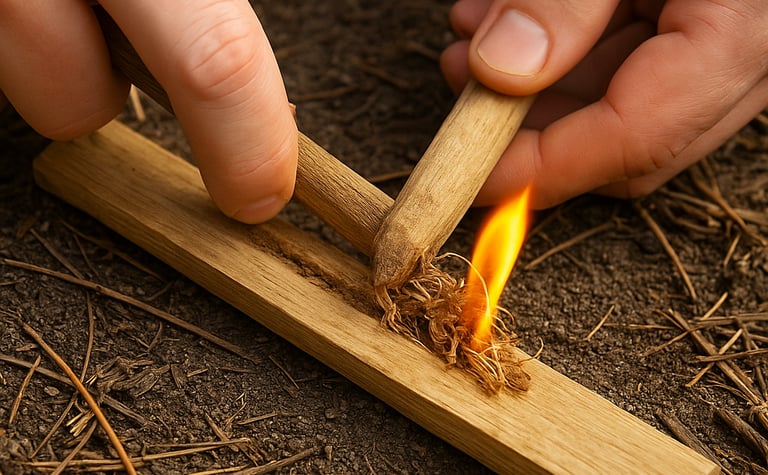
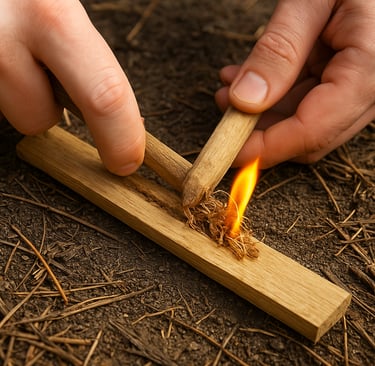
Creating Friction to Make an Ember
Place your stick into the groove at a low angle and begin sliding it back and forth quickly and firmly. Keep consistent pressure and build speed. You’ll notice dust building up at the end of the groove. This dust will eventually smolder into an ember as heat increases.
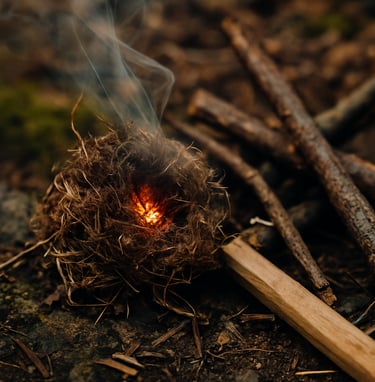
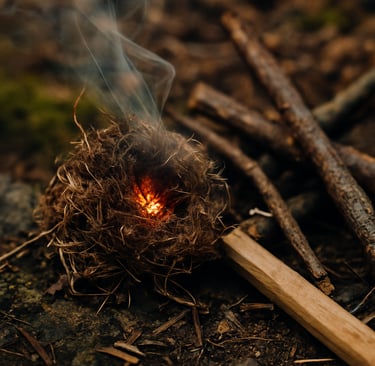
Transferring the Ember
When you see a tiny glowing ember, stop ploughing and gently tap the ember into your tinder bundle. Carefully blow on it to coax it into a flame — this part takes extra patience.
Tending Your Fire
Once the tinder ignites, feed it with dry twigs and gradually add larger sticks. Congratulations — you’ve just built a fire using nothing but friction and your own skill.
Conclusion: Connecting with Primitive Skills
Learning the fire plough method isn’t just about making fire, it’s about mastering an age-old skill passed down through generations. With some practice and the right materials, you can create fire from nothing but wood, patience, and knowledge. If you're curious about faster ignition options, try exploring fire by chemical reaction or electrical fire starting with a battery and steel wool — both excellent backup methods.
Whether you're prepping for an emergency or exploring your primitive side, this method is a powerful reminder of how capable you really are.

© 2025. All rights reserved About | Privacy Policy | Terms and Conditions | Affiliate Disclosure | Disclaimer