
How to Build a Debris Hut Shelter for Survival
Learn how to build a debris hut shelter for survival in the wild. This guide covers step-by-step instructions, insulation tips, and key safety advice using natural materials.
How to Build a Debris Hut Shelter for Survival
What Is a Debris Hut Shelter?
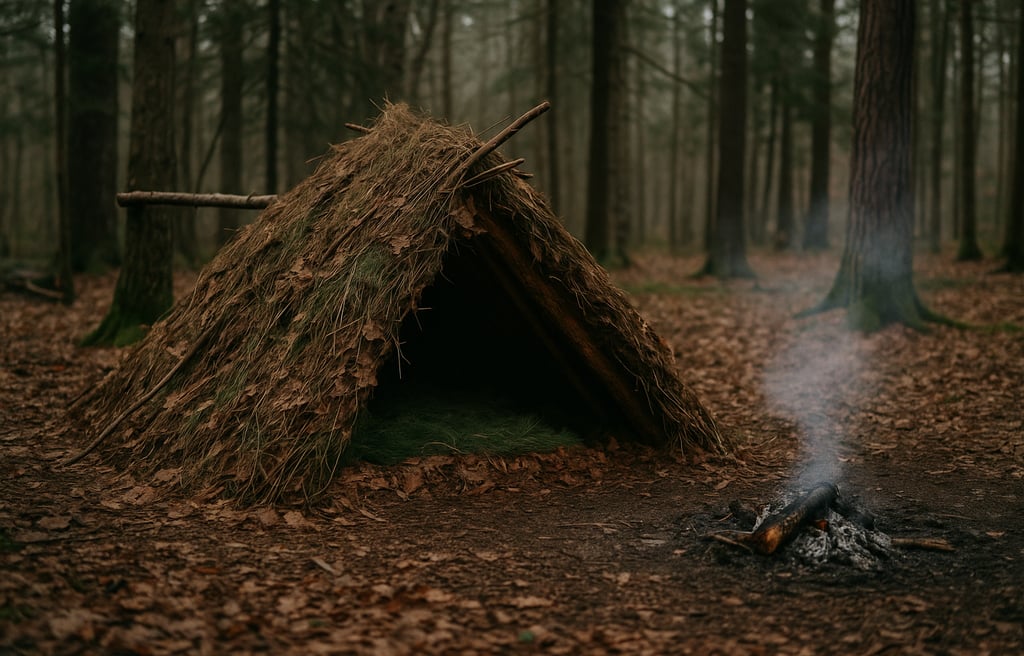
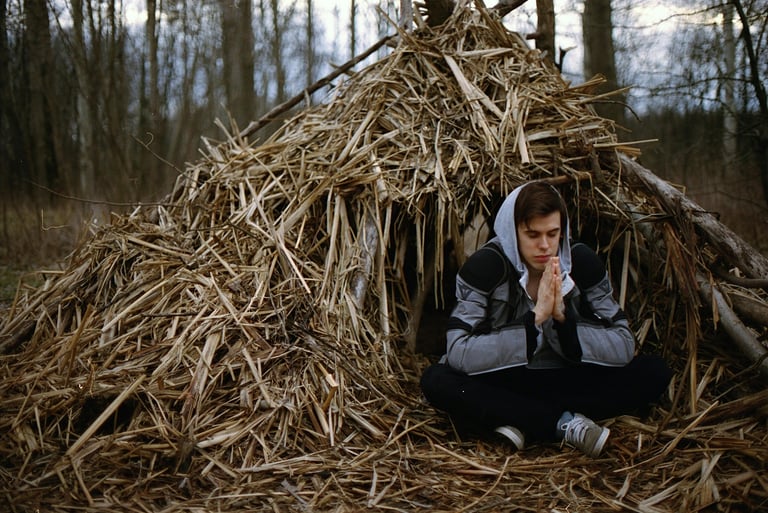
A debris hut is one of the most effective cold weather survival shelters you can build using only natural materials. It’s a compact, insulated structure made primarily from leaves, branches, pine needles, and other forest debris. When done right, it can help retain your body heat and protect you from wind, rain, or even snow.
The beauty of the debris hut is in its simplicity. It doesn’t require tools, ropes, or tarps—just some patience and a good location. For those who may find themselves lost, injured, or needing to hunker down for the night, learning how to make a debris hut can make a major difference.
Choosing the Best Location for Your Shelter
Before you start building, scout for a spot with plenty of natural debris like dry leaves, pine needles, and downed branches. Look for a flat area with good drainage and natural wind protection—like the base of a slope or behind a large fallen log. Avoid low points where cold air collects or where water might pool during rainfall. For extra drainage and stability in wet or cold conditions, consider alternatives like a rock shelter or an A-frame shelter depending on terrain.
Also make sure you're not directly beneath dead branches that could fall, and check that there’s no evidence of animal activity nearby. You want to stay warm, but you also want to stay safe.
Creating the Basic Framework
Start by finding a sturdy ridgepole — something about 8 to 10 feet long and as straight as possible. This will form the spine of your shelter. Prop one end up on a stump, forked tree, or a Y-shaped stick stuck in the ground, angling it so the shelter height is just enough for you to crawl into.
Next, lean strong sticks or branches along both sides of the ridgepole to form a long triangle shape, leaving one end open as the entrance. These sticks are your ribs and will hold up the debris layers.
Insulating with Debris and Natural Materials
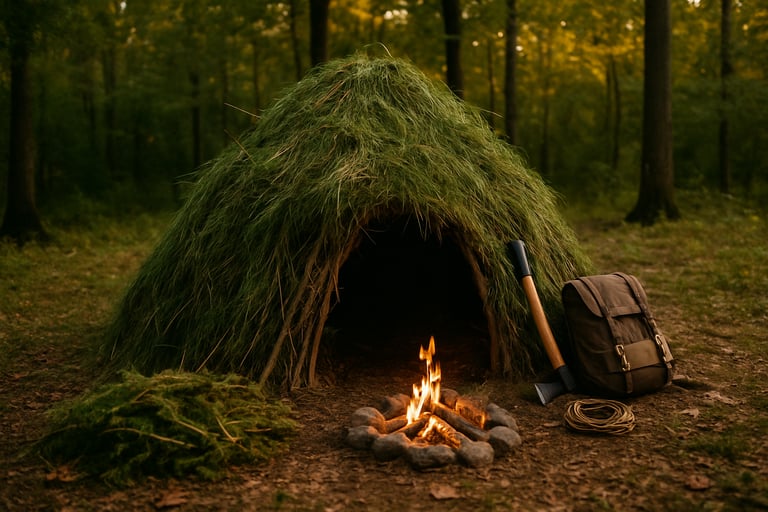
This is the most important step for keeping warm. Cover the frame completely with a thick layer of forest debris — leaves, grasses, pine needles, and ferns. Aim for at least two to three feet of insulation all around the outside. The thicker, the better.
After insulating, add a layer of smaller sticks or branches on top of the debris to help hold everything in place, especially if wind or rain is expected. You want the shelter to trap warmth, not let it escape.
Inside, line the floor with dry leaves or pine boughs to create an insulating bed. This will keep you off the cold ground and add extra comfort.
Sealing the Entrance for Warmth
At night, use a large bundle of debris or a loose pile of leaves to partially block the entrance after you crawl inside. This step helps trap your body heat inside the shelter and reduces cold air drafts. Just make sure you leave enough space for airflow to avoid trapping moisture or creating condensation inside.
Final Tips for Staying Warm and Safe
While a debris hut is highly effective at retaining body heat, it's best used for solo survival. The tighter the space, the more warmth it holds. If you’re traveling with others, consider building multiple small shelters instead of one large one.
Be patient with the process. It takes time to gather enough insulation, but the effort is worth it when temperatures drop. Practice building one in a safe environment so you’re ready in a real emergency.
To expand your shelter-building knowledge, check out our Shelter Building Page full of in depth articles on the many other types of shelter you can build in the wilderness.
© 2025. All rights reserved About | Privacy Policy | Terms and Conditions | Affiliate Disclosure | Disclaimer