
How to Build an A-Frame Shelter for Survival
Learn how to build a sturdy A-frame shelter using natural materials or a tarp. This beginner-friendly guide walks you through everything from structure to insulation for wilderness survival.
How to Build an A-Frame Shelter for Survival
Why the A-Frame Shelter Is a Reliable Survival Choice
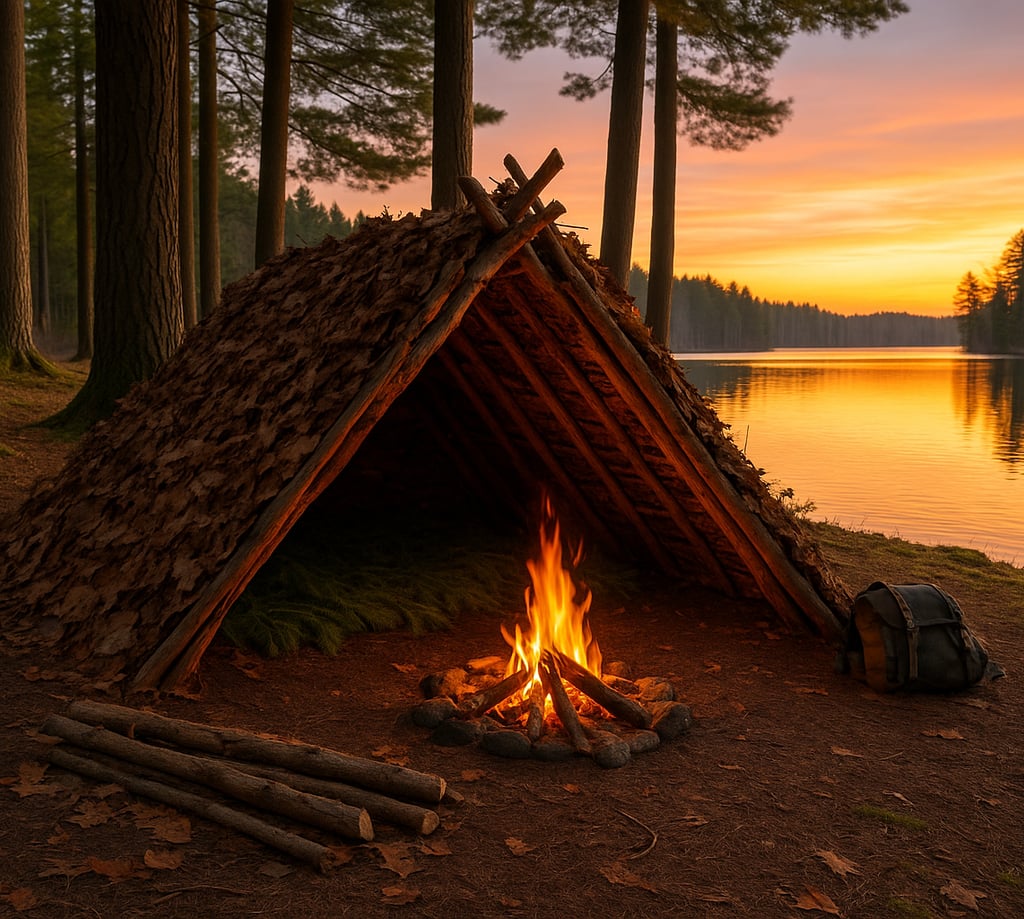
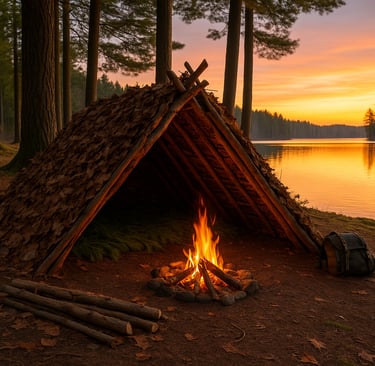
The A-frame shelter is one of the simplest and most effective emergency shelters you can build in the wild. It’s sturdy, adaptable to many environments, and offers solid protection from rain, snow, and wind. Whether you're using a tarp or gathering branches from the forest floor, the design naturally sheds water and traps warmth inside. Its triangle shape helps keep the structure stable while minimizing the effort needed to construct it — a key advantage when you’re tired, cold, or racing against sunset. If you find yourself in more extreme cold or snow, consider building a snow cave shelter or quinzhee shelter, which provide greater insulation than open-frame designs.
Choosing the Best Location for Your A-Frame Shelter
The first step to building an effective A-frame shelter is choosing a safe and smart location. Look for flat ground that’s elevated enough to avoid pooling water. Avoid setting up in gullies, under dead tree limbs, or near rockfall zones (If you have natural terrain advantages, you might consider a cave shelter or rock shelter if suitable formations are nearby).
Ideally, find a spot with access to materials like long branches, leaves, pine boughs, or dry debris. If you’re using a tarp or poncho, make sure there are two sturdy trees about 6 to 8 feet apart to anchor the shelter’s ridgeline.
How to Build the Basic A-Frame Structure
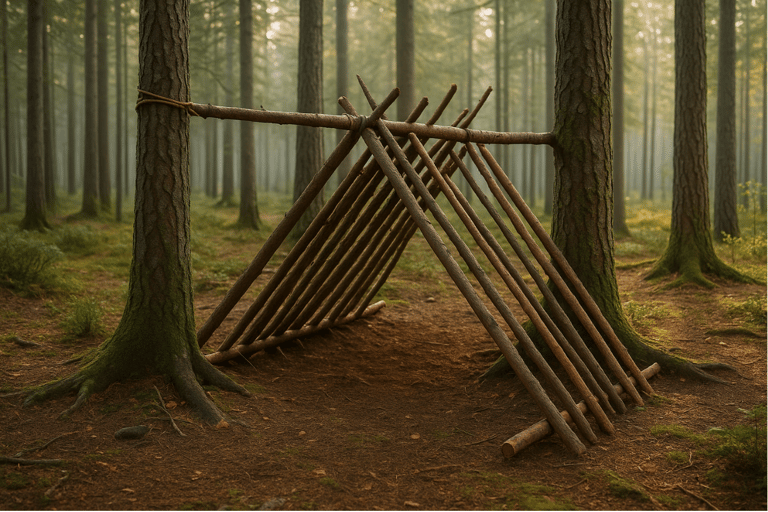
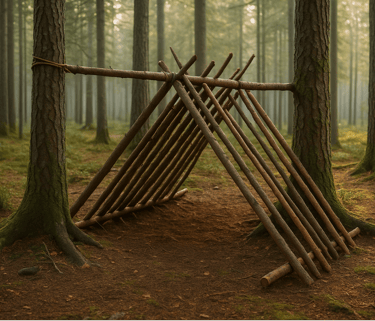
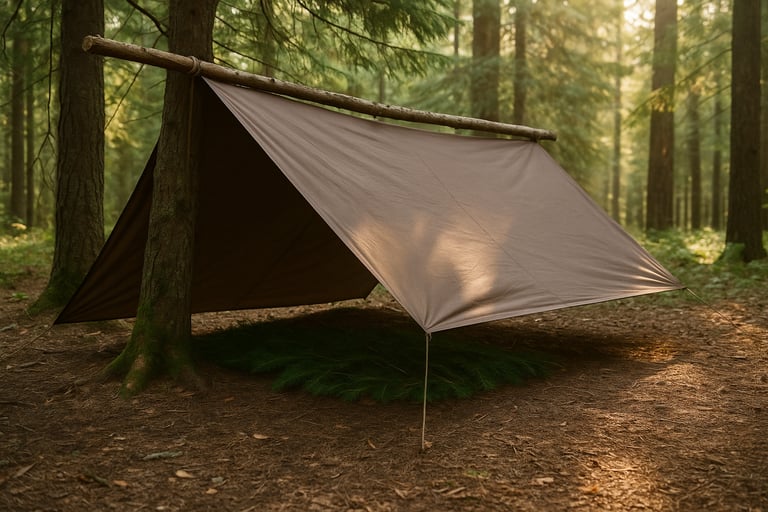
Start by laying a strong ridgepole between two vertical supports — either tied between trees or propped up with Y-shaped sticks. This ridgepole forms the backbone of your shelter. From here, begin leaning long branches or poles on both sides of the ridgepole at an angle, forming that classic triangular “A” shape. These should be spaced closely to provide maximum strength and support for whatever covering you plan to add next.
Insulating and Weatherproofing Your A-Frame Shelter
Once your frame is complete, it's time to cover it. If you're using a tarp, drape it evenly over both sides of the frame, securing it with paracord or stakes to prevent wind lift. For a natural shelter, cover the sides with overlapping layers of leaves, bark, pine boughs, or even grasses to insulate the interior and keep rain or snow out (If materials are limited or time is short, a tarp shelter or poncho shelter may be quicker alternatives offering solid protection). Make sure to leave a small opening at the front and, if using a fire, a vent at the top back for smoke to escape.
Making the Inside Comfortable and Livable
It’s not just about the structure — what’s inside matters too. Lay down a thick layer of pine boughs, leaves, or dry grass to serve as bedding and insulation from the cold ground. This can dramatically reduce heat loss while sleeping. Keep your gear dry by storing it slightly elevated or near your sleeping spot. If possible, build a small fire just outside the entrance for warmth, light, and a bit of added security. Just be sure to keep a safe distance between the fire and your shelter to prevent accidents.
Final Thoughts on Building an A-Frame Survival Shelter
Whether you're navigating a survival situation or simply practicing your wilderness skills, learning how to make an A-frame shelter is incredibly useful. With minimal tools and a little effort, you can create a safe, insulated shelter to help protect you from the elements. Once you’ve practiced it a few times, setting one up quickly in an emergency becomes second nature.
Let your first attempt be a learning experience, then challenge yourself to make each one better, faster, and more weatherproof than the last.

© 2025. All rights reserved About | Privacy Policy | Terms and Conditions | Affiliate Disclosure | Disclaimer