
How to Make DIY Fire Starters Using Everyday Items
Learn how to make improvised fire starters from common household items like dryer lint, petroleum jelly, and wax. Master fire-making for survival and camping using DIY methods that actually work.
How to Make DIY Fire Starters Using Everyday Items
Starting a fire in the wild doesn't always require expensive gear. In fact, some of the best fire-starting tools are already in your home. Whether you're preparing for emergencies, going camping, or simply want to boost your self-reliance, making your own fire starters is easy and incredibly useful.
This guide walks you through step-by-step how to create effective, improvised fire starters using everyday household materials—no advanced tools required.
If you're interested in even more primitive methods, try learning how to start a fire with a bow drill or using sunlight to ignite dry tinder.
Best Items to Use for Homemade Fire Starters
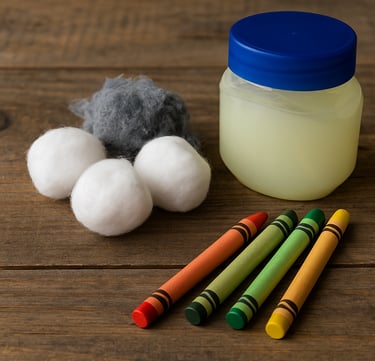
Before we get started, let’s look at some of the most useful items you can use to build your own fire-starting kit:
Dryer lint or cotton balls: These catch fire almost instantly and are incredibly lightweight.
Petroleum jelly: Extends burn time by acting as a fuel source.
Toilet paper rolls: Great for packing and organizing your materials.
Egg cartons: Help you mold multiple fire starters at once.
Crayons or wax: Add intensity to the flame and help waterproof the starter.
These items combine quick ignition with lasting burn time—two things you want in any reliable fire starter.
How to Make a Fire Starter Step by Step
Step 1: Start with the ignition material
Begin with a small ball of dryer lint or a cotton ball. This is your core—it lights easily and burns hot.
Step 2: Add petroleum jelly
Generously coat the cotton or lint in petroleum jelly. This makes the flame last much longer and helps ignite damp kindling.
Step 3: Choose your container
Stuff the coated material into a toilet paper roll for portability. If you want to make several at once, use an empty egg carton instead—one fire starter per cup.
Step 4: Seal it with wax
Melt crayons or candle wax and drizzle it over the filled rolls or cartons. This adds fuel and helps bind everything together.
Let Your Fire Starters Cool and Harden
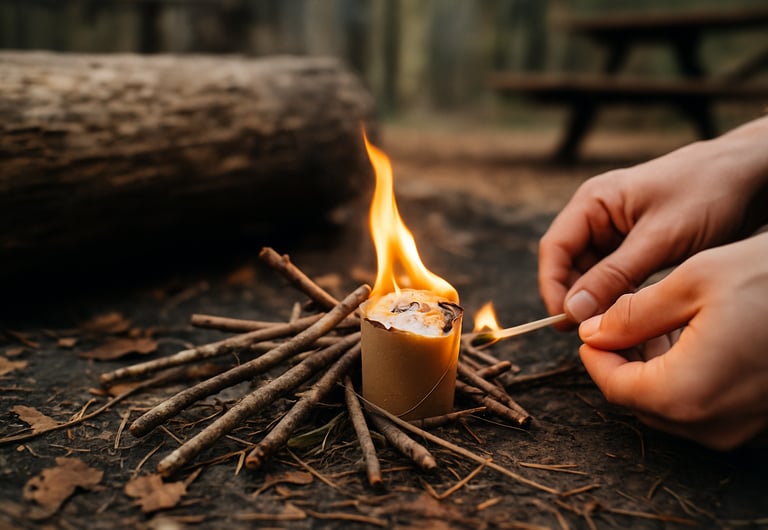
Once the wax has been added, let your fire starters sit until the wax hardens. They’ll be solid and ready to pack in your gear or emergency kit.
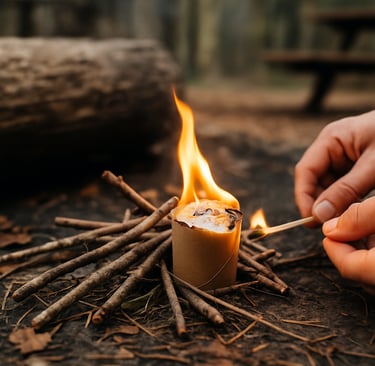
When you're ready to use one, place it at the base of your campfire setup and light it with a match or lighter. You’ll see how quickly it catches and how long it burns.
Want another clever method? Check out how to build a fire with a 9V battery and steel wool — a fast and powerful way to spark a flame using electricity.
Build Your Campfire with Confidence
Now that you have a reliable flame source, begin layering on your fuel. Start with dry twigs, then move up to finger-sized sticks, and finally to larger branches or logs. With your DIY fire starter at the base, the rest of the fire will build naturally.
You can also boost your skills with our beginner’s guide to fire by chemical reaction, which shows how to ignite flames using magnesium or fire sticks, even in wet weather.
Why DIY Fire Starters Matter
Knowing how to make fire without high-tech tools is an essential wilderness survival skill. It’s also a great way to save money, reduce waste, and be prepared for unexpected situations.
Now you’ve got an easy, repeatable method for creating fire starters with just a few common items—and the confidence to light a fire when it really counts.

© 2025. All rights reserved About | Privacy Policy | Terms and Conditions | Affiliate Disclosure | Disclaimer