
How to Build a Bivy Shelter for Emergency Wilderness Survival
Meta Description: Learn how to build a bivy shelter in the wilderness using natural materials or minimal gear. This beginner-friendly guide covers step-by-step instructions, survival tips, and essential keywords for staying safe outdoors.
How to Build a Bivy Shelter for Emergency Wilderness Survival
What Is a Bivy Shelter and Why Use One?
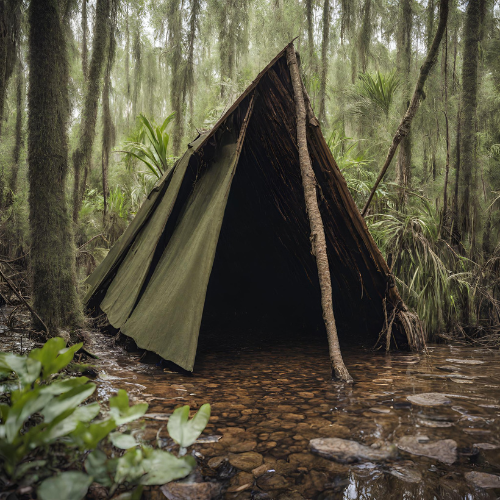
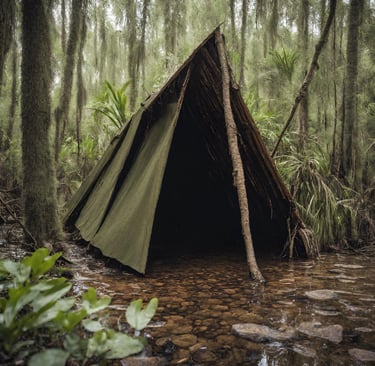
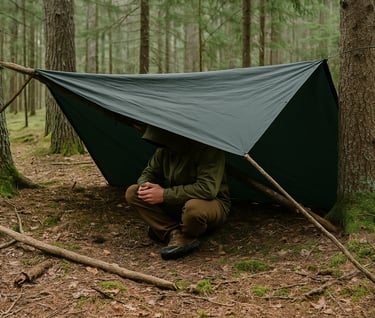
A bivy shelter — short for bivouac — is one of the simplest emergency shelters you can create in the wild. It’s designed to protect you from the elements when you’re caught without a tent or sleeping system. Unlike larger, more structured shelters like a teepee or lean-to, a bivy is compact, fast to set up, and ideal for solo survivalists. It can be made using just a tarp, poncho, or natural materials, depending on your situation. Unlike larger more structured shelters like a lean-to or a teepee shelter, a bivy is compact, fast to set up, and ideal for solo survivalists.
These shelters are great for unexpected overnight stays or when you’re trying to stay low-profile in backcountry terrain. If you’re hiking, hunting, or exploring and the weather turns suddenly, knowing how to build a quick bivy shelter can literally be a lifesaver.
Best Materials to Use for a Bivy Shelter
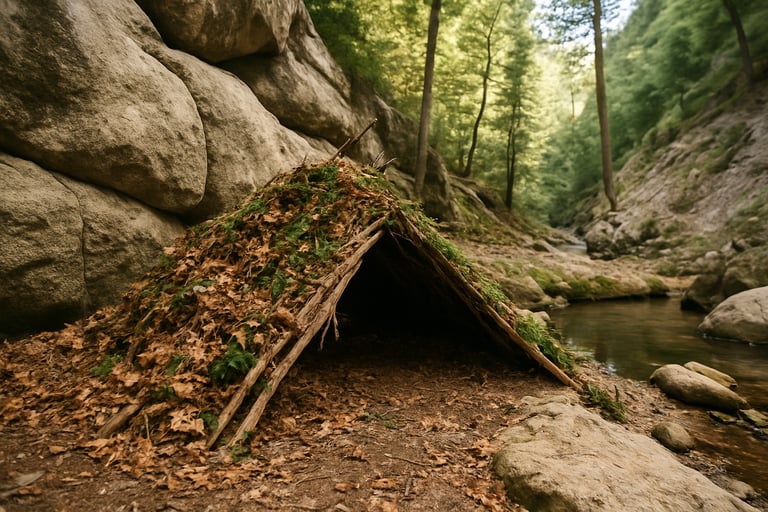
The most basic version of a bivy shelter uses a waterproof tarp or poncho. If you don’t have one, you can still improvise using a plastic sheet, emergency blanket, or even large leaves and branches. The key is to insulate yourself from the ground and shield against wind and rain. This same principle applies when building a debris hut or a tarp shelter, where insulation and water resistance are critical.
A good shelter setup will also require cordage, such as paracord or rope, or even shoelaces in a pinch. If you’re using natural materials, look for strong branches, evergreen boughs, or dry debris that can be shaped into a simple cocoon or wedge.
Where to Set Up a Bivy Shelter for Maximum Protection
Location matters just as much as materials. Choose a spot that’s naturally sheltered—perhaps behind a large boulder, under dense tree cover, or near a downed log. Avoid areas where water might collect if it rains, and stay away from ridges where wind exposure is higher.
Also pay attention to slope and drainage. You want to stay dry and slightly elevated above low points that could become puddles or mud pits. If possible, build your bivy shelter with the opening facing away from the wind, using natural windbreaks like bushes or tree trunks when available.
Step-by-Step Guide to Making a Bivy Shelter
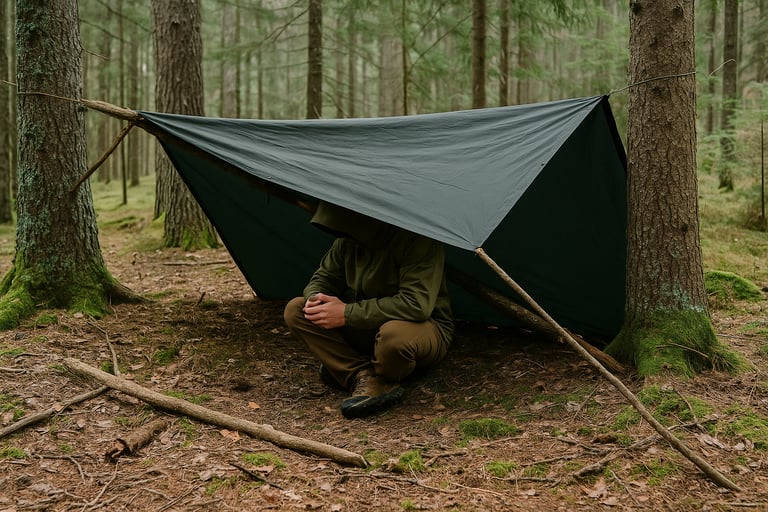
Start by laying out your ground cover to insulate yourself from the cold. This could be a foam pad, pine boughs, or even leaves (These materials are also used in other simple shelters like a bough bed shelter or within a cordwood shelter). Then drape your tarp or poncho over a low line strung between two trees, or secure one end on the ground and prop the other end up with sticks to form a wedge.
Anchor the sides with rocks or stakes to keep the wind from lifting it. Keep the shelter low to retain body heat, and try to keep at least one side completely closed to block out drafts. If you have extra material, you can fold it under or around your sleeping bag or body for added warmth and weather resistance.
Tips to Improve Warmth and Waterproofing
To stay warmer inside your bivy shelter, consider adding a reflective emergency blanket to the interior ceiling to bounce heat back toward you. If you have extra clothing, stuff it between the shelter wall and your body as insulation. For extra waterproofing, angle the shelter’s slope to allow rain to run off quickly and avoid pooling.
Always carry a lightweight tarp and cordage in your survival kit. Even if you never use them, they weigh very little and can make all the difference in an emergency situation.

© 2025. All rights reserved About | Privacy Policy | Terms and Conditions | Affiliate Disclosure | Disclaimer